When it comes to installing a Windows operating system with a USB flash drive, we will need to make the USB drive bootable to work and behave like a Windows installation disc. You can use software applications to perform this task, but the CMD method to make USB bootable is really cool and easy, and you do not need to install any additional applications on your PC.
Microsoft has provided its own official tool for creating a bootable USB drive called Windows USB / DVD Tool, it is actually easy to use, but there are some other software applications to create a bootable USB drive with more options.
There are many advantages to installing Windows and other operating systems through USB, such as faster installation, easy carrying and not scratched.
Lets do it
Before starting, note that all the data will be removed from your USB drive during the steps given below, so please back up your USB data somewhere in your computer if you save important data in it.
To make a bootable USB using Windows Command Prompt (CMD), follow the steps below:
- Connect the USB drive with the PC and run the command prompt as an administrator. To start CMD as an administrator, go to the Start menu, type ‘CMD’ in the search, right-click on the command prompt app and select ‘Run as administrator’ option.
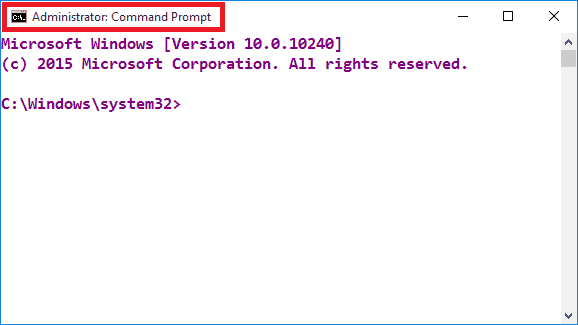
- Type
DISKPARTin cmd window and press enter, it enables you to manage disks, partitions or volumes on your PC.
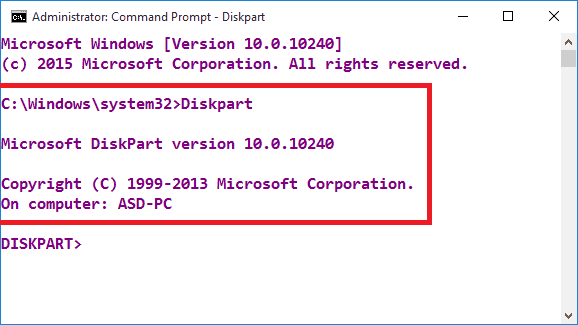
- To display a list of connected disks, type
LIST DISKand press enter.
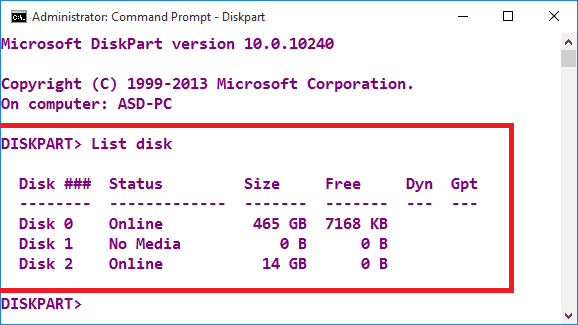
SELECT DISK X, where X should be replaced with its USB disk number, please see it on the above step (STEP 3).
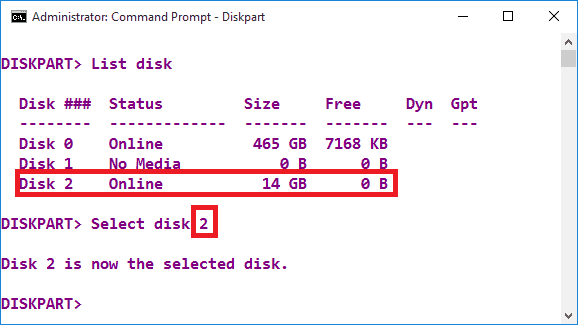
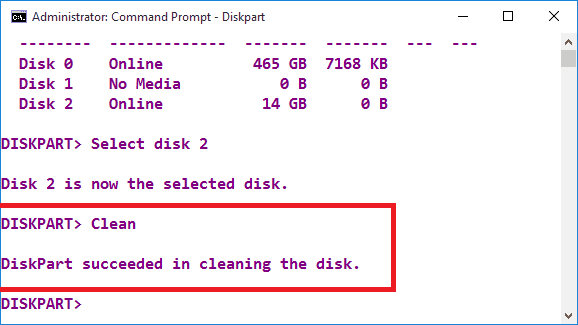
- Type
CLEANcommand and press enter to clear data from the selected disk. This will remove all data from the USB drive.
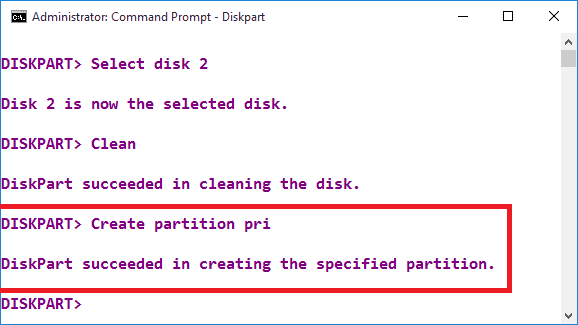
- Now to create a primary partition on the current disk, run the
CREATE PARTITION PRIcommand.
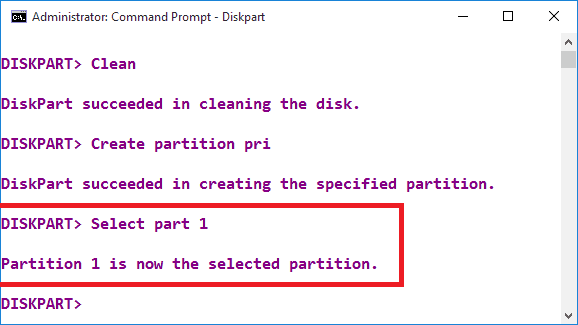
- Type
SELECT PART 1and press enter to select the specified partition.
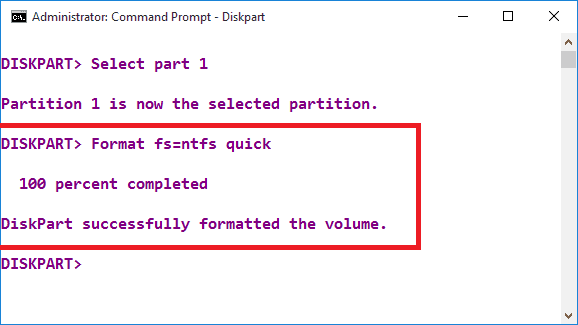
- Type
FORMAT FS=NTFSand press enter to format the selected disk and specifies the NTFS file system. You do not need to wait with the ‘quick’ command.
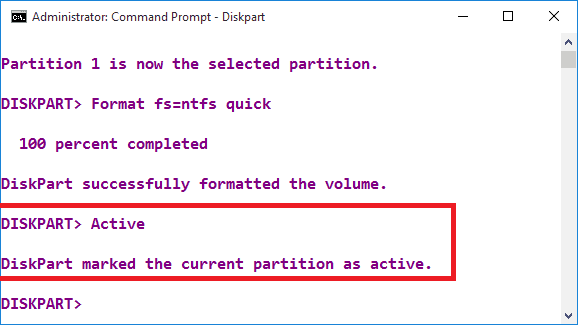
- To mark the current partition active, type
ACTIVEand press ENTER.
- Run
EXITcommand twice to exit the Diskspart session and close the CMD window.

What’s next?
Now you have to manually copy Windows installation files to the USB drive. If you have an ISO image file, then simply extract ISO files somewhere in your computer’s hard drive by using 7-Zip or WinRAR software, then copy all files to USB flash drive.
After restarting your computer, your system may not boot with USB, so press the boot device option key and select your USB drive.
How do I change bootable USB to normal?
If you do not want to use that USB for install operating-system, then just go to Format the bootable USB drive, right-click on your USB drive and select ‘Format’. In the Format window, click once on the ‘Restore device defaults’ button and then format.
Source Link 1: Create Bootable USB Flash Drive
Source Link 2: DiskPart Command-Line Options

