Easy ways to perform Data Recovery In Mac. Did your MacBook Pro’s SSD fail recently or show the S.M.A.R.T. status as failing? Know the symptoms of SSD failure and how you can fix it using the methods presented in this post.
Lets find out answers for data recovery for iOS. Read steps to Recover Data from MacBook Pro. Also check out steps to Fix MacBook Pro’s SSD failure.
MacBook Pro SSD Failure Symptoms
When your SSD is not well, your Mac might behave erratically, such as the following:
- Applications not responding to mouse or keyboard inputs.
- Applications taking a lot of time to open.
- Mac not responding to inputs and throwing kernel panic error.
To confirm whether it’s the SSD that’s causing these issues in Mac, check the status of your SSD using Disk Utility. The steps are as follows:
- Go to Applications > Utilities > Disk Utility to open the disk management app.
- In Disk Utility, go to View > View All Devices.
- Select the internal Mac SSD volume from the sidebar.
- From the right-pane, verify its S.M.A.R.T. status.
- The status might show as Failing, Failed, or Unrecognized. Take appropriate action.
- Back up your Mac SSD to another backup medium, say Time Machine backup drive.
- Or, manually perform the backup to an external hard drive.
Methods to Fix MacBook Pro’s SSD failure
The first thing that you would like to do with your failing SSD is to fix it using First Aid of Disk Utility. The steps are explained next:
- Start or restart your Mac, then immediately press and hold Command + R keys.
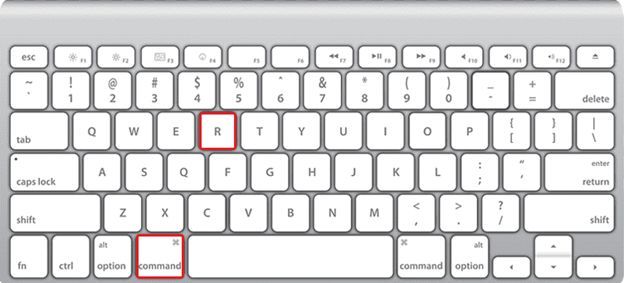
2. Release the keys when the Apple logo appears. Mac will boot into macOS Recovery mode.
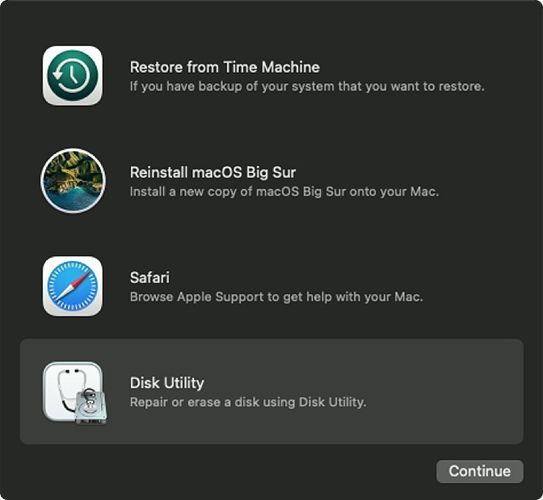
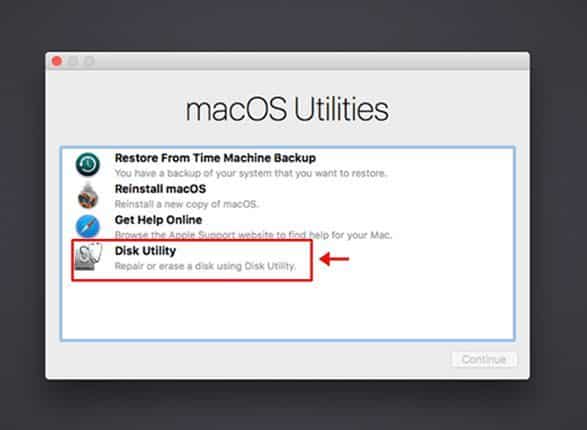
3. In the macOS Utilities window, select Disk Utility, and click Continue.
4. Go to View > View All Devices. Select Macintosh HD the startup disk, then click First Aid.
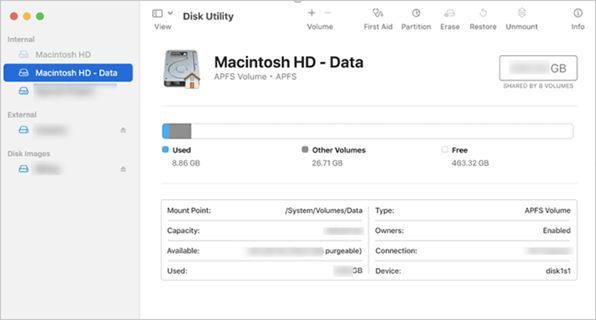
5. Click Run to instruct Disk Utility to perform the SSD repair process.
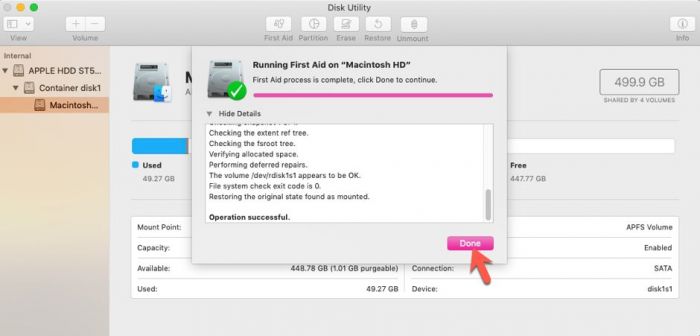
6. If the repair succeeds, you can use your SSD normally.
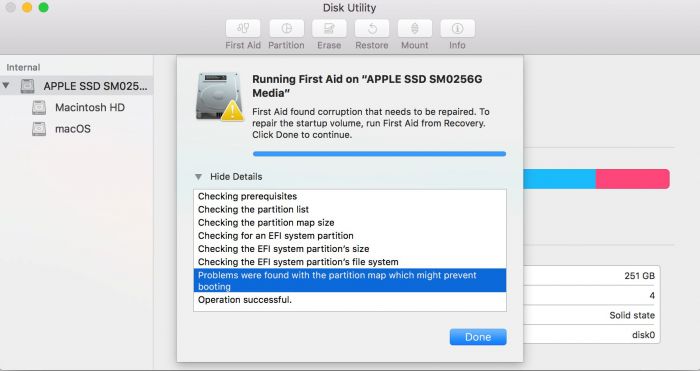
7. Else, back up your Mac and erase the drive using Disk Utility, then reinstall macOS.
8. In case the SSD has electronic component damage, replace the drive with a new one.
Watch YouTube Video Tutorial On Repair Macintosh HD (start-up disk) with Disk Utility via Recovery Mode
Data Recovery In Mac – How to Recover Data from MacBook Pro’s SSD?
If your Mac boots, then you should immediately use Time Machine to back up your Mac for Data Recovery In Mac. Or else, you can use Target Disk mode to access your Mac SSD as an external backup drive. The steps to access Mac SSD using Target Disk mode are as follows:
- Connect your affected Mac with a working MacBook, iMac, or Mac Pro using a Thunderbolt or FireWire
- Start the working Mac. Also, power on your affected Mac, then immediately press the T key on your keyboard. Release when the Thunderbolt or FireWire icon appears.
- The affected Mac enters the Target Disk mode and can be accessed by the working Mac as an external storage drive through Finder.
- Access the affected Mac SSD data and copy and paste important files to the working Mac, or use another external storage drive.
Alternatively, you can use a bootable data recovery software to create a boot USB drive on a working Mac, then use the boot drive to access the non-working Mac. The recovery steps are as follows:
- Connect an empty USB flash drive of 16 GB or more to a working Mac.
- Download and install Stellar Data Recovery Professional for Mac on the working Mac.
- Activate the software to access Create Recovery Drive feature.
- Launch the software and click Create Recovery Drive from the bottom-left corner.
- Or else, click the More Tools option from the top-right corner, then click Create Recovery Drive.
- Use the on-screen instructions to create a bootable USB drive on the connected medium.
- Once the boot drive is created, connect the drive to the troubled Mac.
- Start the non-booting Mac, and immediately press and hold the Option Release when the Startup Manager appears.
- Select the USB flash drive as boot drive and then from the macOS Utilities, select StellarDataRecovery and click Continue.
- When the software opens, customize your scan, then click Next. Select Macintosh HD for data recovery, then toggle on Deep Scan, then click Scan.
Note: For macOS Mojave or later, you need to allow the software extension to inform macOS that the software is trustworthy.
- After the software scans the affected SSD, preview and recover data from the drive.
How to Avoid Data Loss from SSD?
Always check the health status of your Mac SSD. In case the drive is about to fail, back up the SSD and replace it with a new one. If the SSD has failed and data is important, you can use a data recovery service to salvage your data from the physically failed storage medium. Also, to prevent data loss from empty Trash on SSD, don’t use the Mac unless you use a data recovery mac software to recover your lost data. Plus, try saving 3 copies of files, one on the Mac where they are created, 2 copies should be stored on two different storage media, and 1 copy should be saved on an offsite location say cloud storage to recover data in case of Mac SSD failure or physical damage.
[custom-twitter-feeds feed=2]

